How to Create Multi-Step Workflows

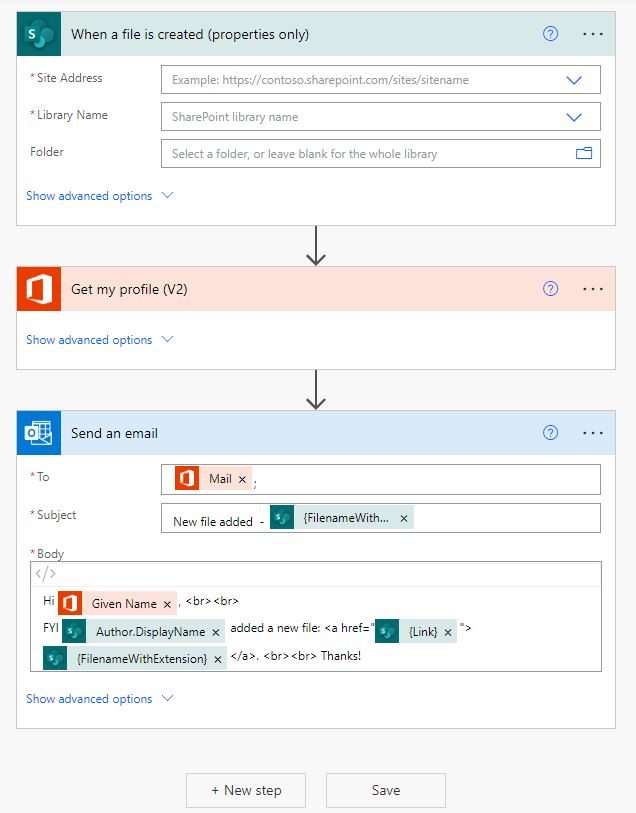
Power Automate make it easy to automate day to day tasks with workflows that can be as simple or complex as you need. We already covered how to use templates in Power Automate, now let’s look at how to create multi step flows in Power Automate. 

  1. Once you’ve logged into Power Automate, select Create from the left side menu to start from scratch, or select a Template to build out. 
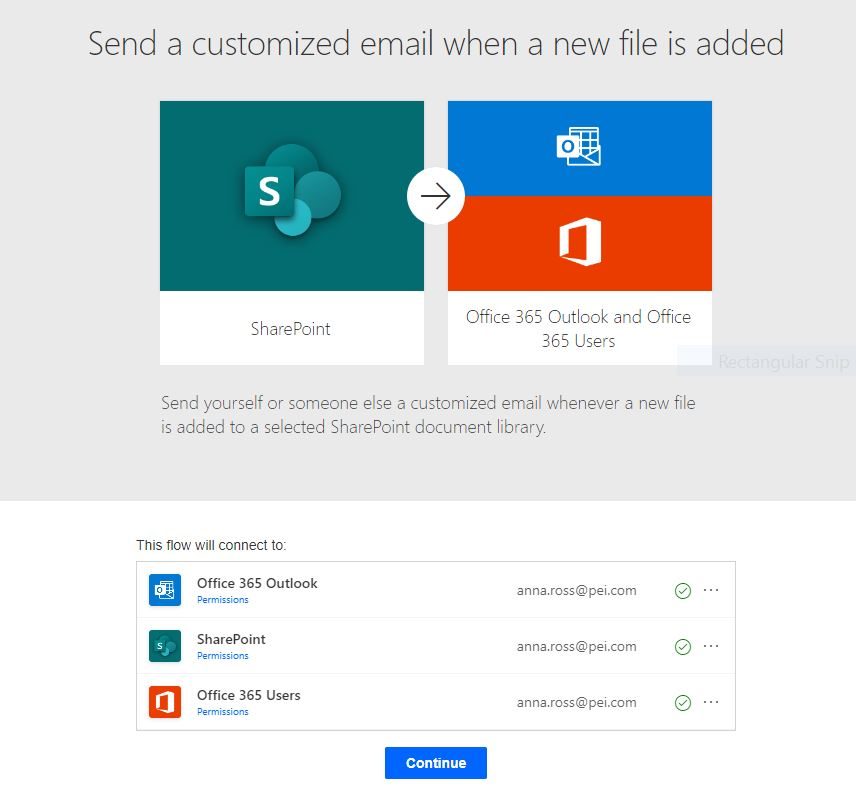
  2. Once you’ve found a workflow you are interested in, click on the flow to see a preview. 
Preview a template before you start building out your workflow.
  1. If your flow is the right fit, sign into the corresponding Office 365 apps and click Continue.
Input the needed information into your Power Automate template.
  1. From a template you can click Next Step to add a new step to the flow, or just keep adding steps if you started from scratch.
Click "new step" to add more steps to your workflow.
  1. Click Save along way! 

Interested in More Videos like this One?

Ask us about the QuickHelp platform, a self-paced e-learning portal that will change the way your users work—driving adoption, preserving IT resources, and increasing productivity and collaboration. QuickHelp delivers targeted and individualized content to keep users engaged and drive long-term change in your organization. Your users can take advantage of on-demand video content, live training classes, or PDF guides to learn the way that works best for them.

Discover Training that Works!

Leave a Reply